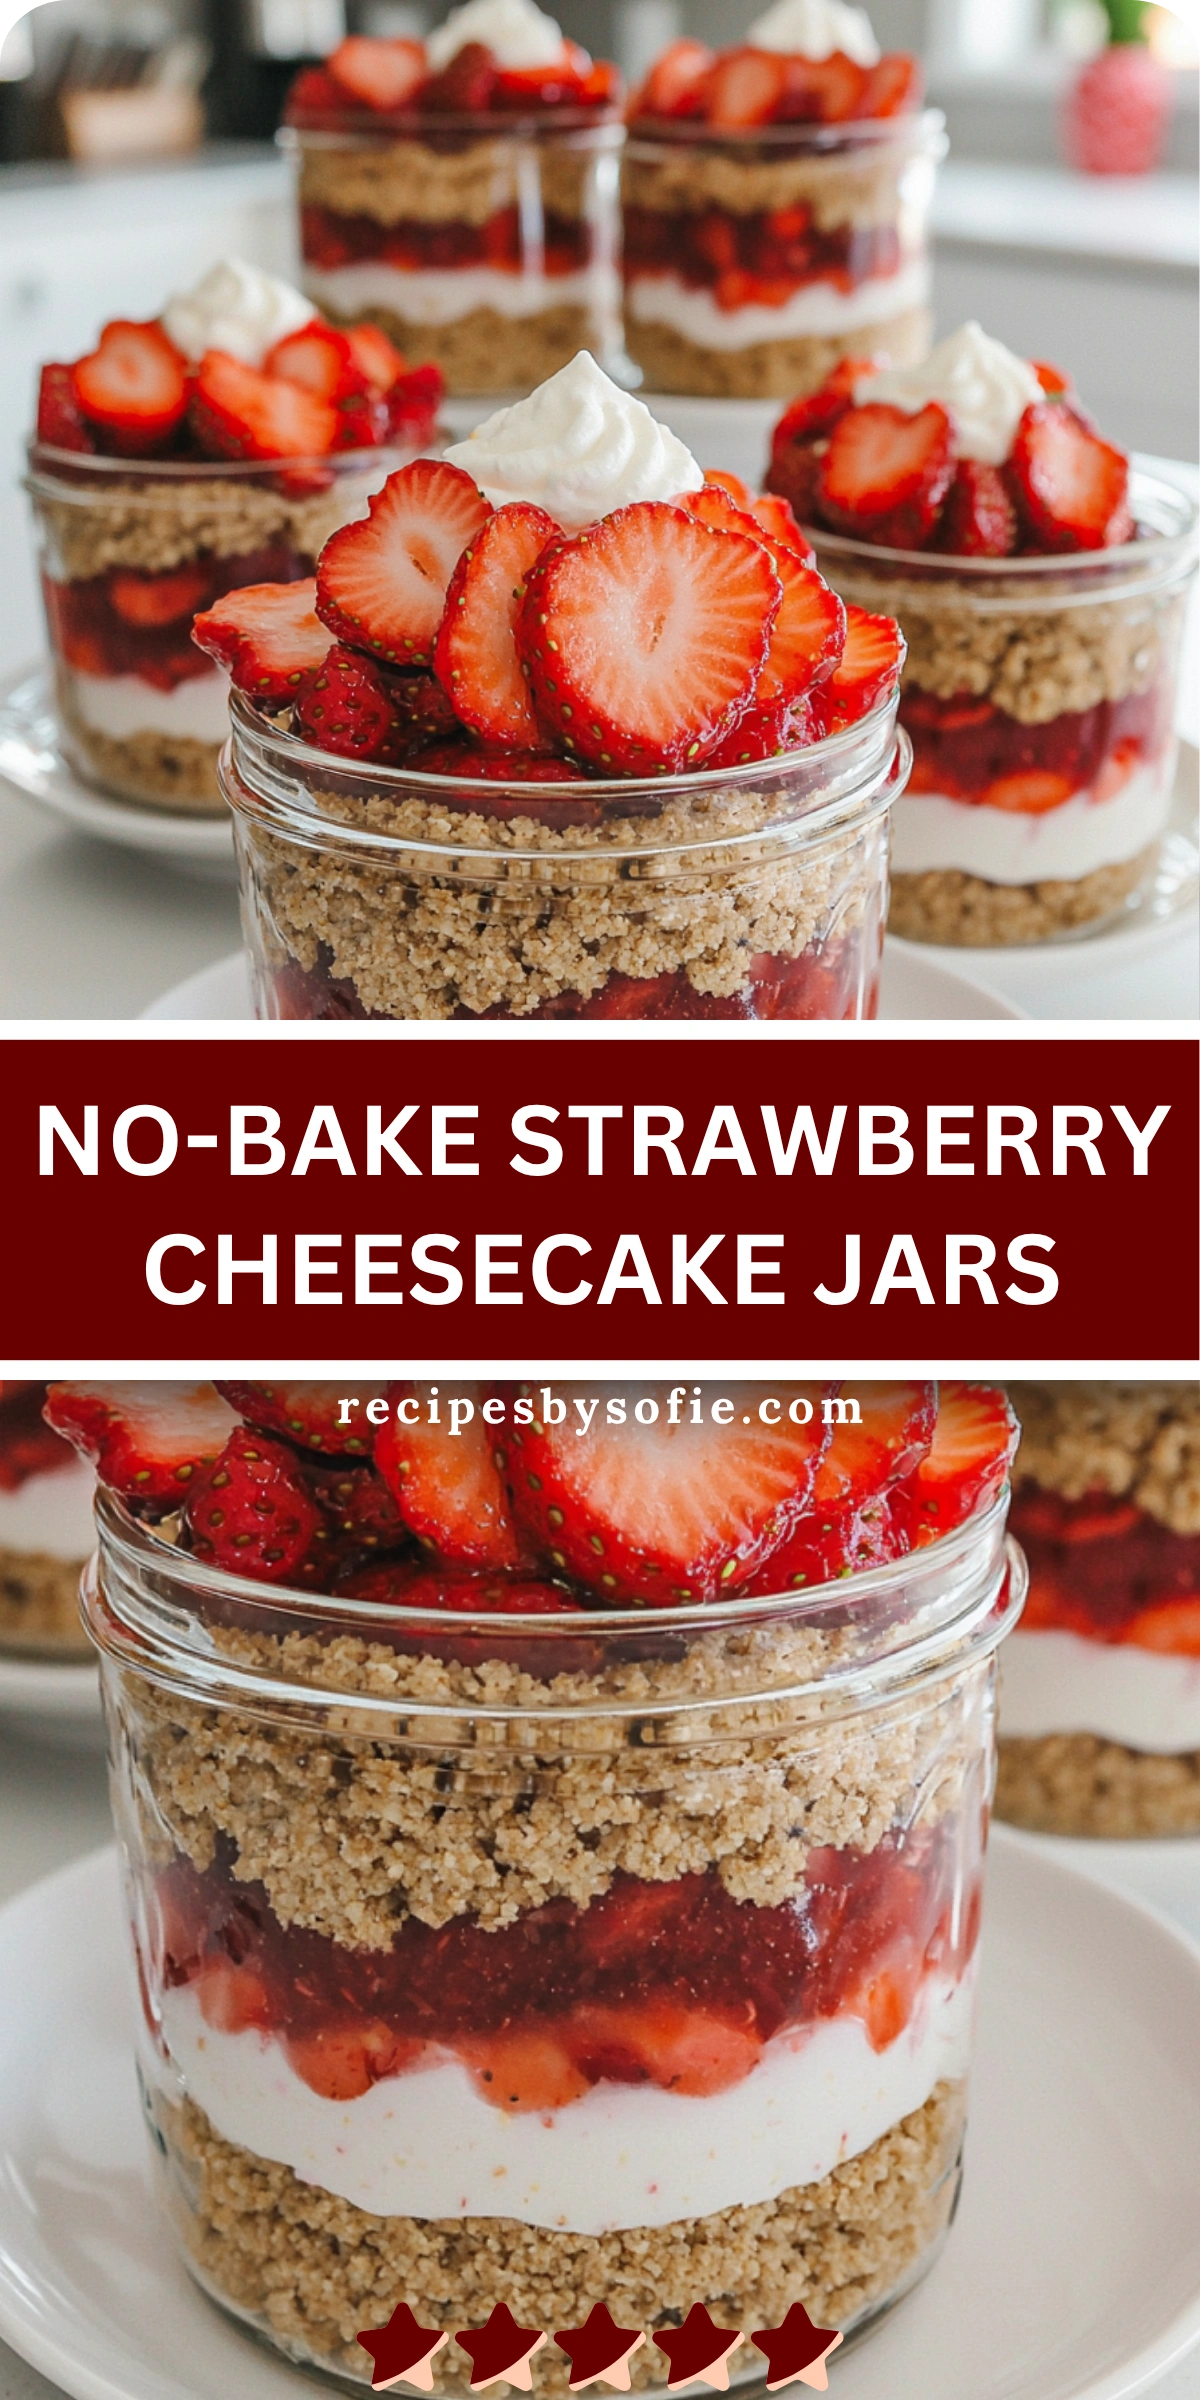
No-bake strawberry cheesecake jars came into my life on a summer afternoon when the heat made turning on the oven out of the question so I grabbed fresh strawberries some cream cheese and graham crumbs and built a chilled treat right in little jars. The result was light creamy fruity and downright addictive and I’ve been making them ever since whenever I want something sweet without breaking a sweat.
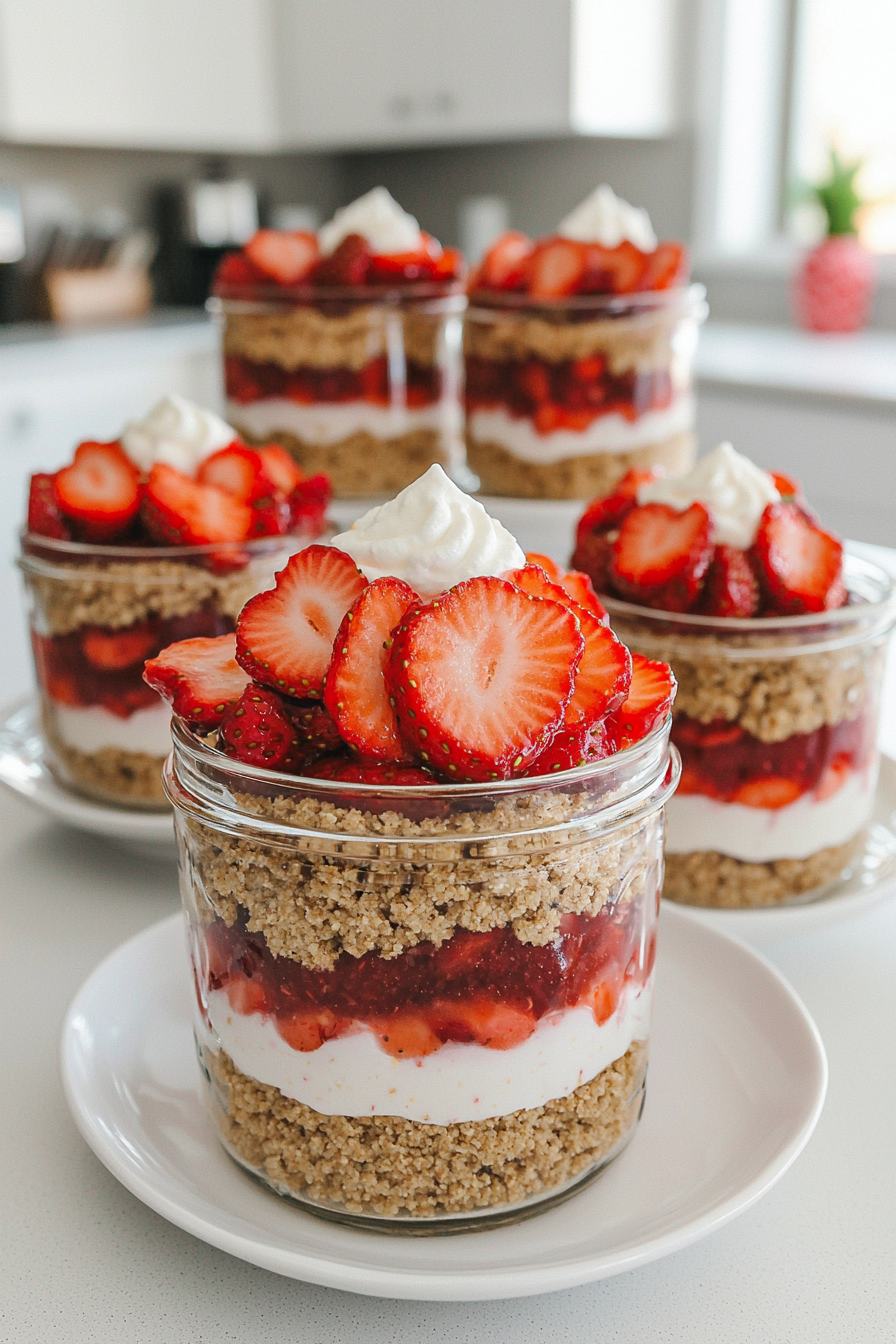
These jars have become my favorite dessert for warm days and casual entertaining because they’re easy to prep and always impress. The layers of creamy cheesecake strawberry compote and buttery crumbs make each bite taste like sunshine in a spoon and I love how they’re both pretty and practical.
Ingredients
- Here’s what I use for this recipe. You can always make substitutions if you prefer!
- Cream cheese – The creamy rich base of the cheesecake layer.
- Greek yogurt – Lightens the filling and adds a touch of tang.
- Honey or maple syrup – Naturally sweetens the cheesecake layer.
- Vanilla extract – Enhances the flavor of the cream mixture.
- Graham cracker crumbs – Create the buttery base and topping.
- Melted butter – Helps the crumbs stick together.
- Fresh strawberries – Provide vibrant color and sweet juicy flavor.
- Sugar – Helps macerate the strawberries for a syrupy effect.
- Lemon juice – Adds brightness to the strawberry layer.
- Whipped cream – Optional topping for extra flair.
Tools You’ll Need
- Mixing bowls – For preparing the cheesecake filling and strawberry mixture separately.
- Hand mixer or whisk – To blend the cream cheese and yogurt until smooth.
- Spoon or spatula – For layering the ingredients into the jars.
- Mason jars or dessert cups – Perfect for assembling and serving the cheesecake.
- Small saucepan – To cook the strawberries into a quick compote (optional).
- Measuring cups and spoons – To keep ingredient amounts just right.
Instructions
Step 1:
I start by making the graham cracker layer by combining the crumbs and melted butter in a bowl and stirring until the texture resembles wet sand.
Step 2:
Next I prepare the cheesecake filling by beating together the softened cream cheese Greek yogurt honey and vanilla extract until it’s smooth and creamy.
Step 3:
For the strawberries I slice them thinly then toss them in a bit of sugar and lemon juice letting them sit until juicy or I simmer half of them in a saucepan to create a quick compote while saving the rest fresh for layering.
Step 4:
I begin layering in each jar starting with a spoonful of the crumb mixture then I add a layer of cheesecake filling followed by the strawberry mixture and repeat the layers once more finishing with a generous spoonful of strawberries on top.
Step 5:
I chill the jars in the refrigerator for at least 1 hour before serving so everything sets and the flavors can meld.
Step 6:
Just before serving I like to top each jar with a swirl of whipped cream and a fresh strawberry slice for that picture-perfect finish.
Tips
If I want to save time I use store-bought strawberry jam instead of homemade compote. I also sometimes swap the graham crackers for crushed Biscoff cookies or chocolate wafers to mix up the flavor. For a lighter version I use low-fat cream cheese and skip the whipped cream topping—it’s still just as satisfying!
Ways to Serve
As an elegant make-ahead dessert for dinner parties
In mini jars for a picnic-friendly treat
As a sweet surprise in lunchboxes or care packages
At brunches with fruit and pastry spreads
For birthdays baby showers or casual celebrations
Frequently Asked Questions
How long do No-Bake Strawberry Cheesecake Jars last?
They keep well in the fridge for up to 3 days—just keep them covered.
Can I freeze No-Bake Strawberry Cheesecake Jars?
Yes but let them thaw in the fridge overnight before serving for best texture.
Can I make No-Bake Strawberry Cheesecake Jars without dairy?
Definitely! Use dairy-free cream cheese and yogurt alternatives to keep it vegan-friendly.
See You in the Kitchen
I hope you try these No-Bake Strawberry Cheesecake Jars and fall in love with how easy and delicious they are! Whether you serve them for guests or treat yourself to one on a quiet afternoon they always hit the spot. Don’t forget to share your beautiful jar creations with me!
Happy Cooking!
Print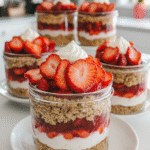
No-Bake Strawberry Cheesecake Jars
- Total Time: 1 hour 20 minutes (including chill time)
- Yield: 4 jars
- Diet: Vegetarian
Description
Looking for easy no-bake dessert ideas? These strawberry cheesecake jars are quick simple and one of the best healthy dessert choices! Great for summer picnics parties brunch or when you want a sweet treat without baking. These creamy fruity jars are easy to make and always impress!
Ingredients
- 1 cup graham cracker crumbs
- 3 tablespoons melted butter
- 8 oz cream cheese softened
- 1/2 cup Greek yogurt
- 3 tablespoons honey or maple syrup
- 1 teaspoon vanilla extract
- 2 cups sliced fresh strawberries
- 2 tablespoons sugar
- 1 tablespoon lemon juice
- Whipped cream for topping (optional)
Instructions
- Mix graham cracker crumbs and melted butter until combined.
- In a bowl beat cream cheese yogurt honey and vanilla until smooth.
- Toss strawberries with sugar and lemon juice and let sit or cook half into a compote.
- Layer in jars starting with crumbs then cheesecake filling then strawberries.
- Repeat layers and finish with strawberries on top.
- Chill jars for at least 1 hour then top with whipped cream before serving.
Notes
- Use store-bought jam for quicker prep.
- Try different cookie bases like Biscoff or Oreos.
- Make them dairy-free with plant-based alternatives.
- Keep covered and store in the fridge for up to 3 days.
- Prep Time: 20 minutes
- Cook Time: 0 minutes
- Category: Dessert
- Method: No-Bake
- Cuisine: American
Nutrition
- Serving Size: 1 jar
- Calories: 320
- Sugar: 18g
- Sodium: 180mg
- Fat: 18g
- Saturated Fat: 10g
- Unsaturated Fat: 7g
- Trans Fat: 0g
- Carbohydrates: 32g
- Fiber: 2g
- Protein: 6g
- Cholesterol: 35mg